

Marks after bending stainless steel: what to check before blaming the press brake
After bending stainless steel, a part may show a fine line, a dull imprint, a scratch, or an area with a different reflection. It is natural to think that the press brake damaged the surface. Yet a mark alone does not prove that the machine is the cause. The result comes from the sheet finish, grain direction, protective film, tooling, cleanliness, bend radius, and how the part is handled.
Painted mild steel often hides small contact traces. Brushed and reflective stainless does the opposite: normal light makes every contact easy to see. The useful question is not simply whether the machine formed the bend. It is whether the finished part looks acceptable where your customer will see it.
That can usually be checked before a purchase. You need a few of your own samples, appropriate tooling, and an agreed definition of an acceptable surface—not a complex laboratory test.

First identify the mark you do not accept
The word “scratch” is often used for several different effects. It may be a real score caused by a particle on the die. It may be an even contact imprint along the bend line. Or it may be residue from film, oil, or marker that can be removed and does not affect the part. Each case needs a different response.
Before a trial, bring one or two representative parts and state what matters: the visible face, grain direction, the zone near the bend, and the level of marking you can accept. A real sample or a photo of the finished product is usually enough to give everyone the same reference.
If it is unclear whether a mark is acceptable, send a photo and explain where the part will be visible. An L‑SEL engineer can help turn that into a short trial checklist.
Send a part photoTooling touches the part, so it is part of the finish
Punches and dies determine more than the angle. Their geometry, radius, working-edge condition, and cleanliness decide how the sheet moves during bending. Even a capable press brake cannot protect a decorative surface if a tool has a burr, dust from a previous job, or a damaged contact area.
For decorative stainless, ask to see the exact tooling proposed for your part. Check the die under ordinary light, ask about protective inserts and cleaning, and confirm the bend radius. One hard particle can make a visible line across an otherwise acceptable batch.

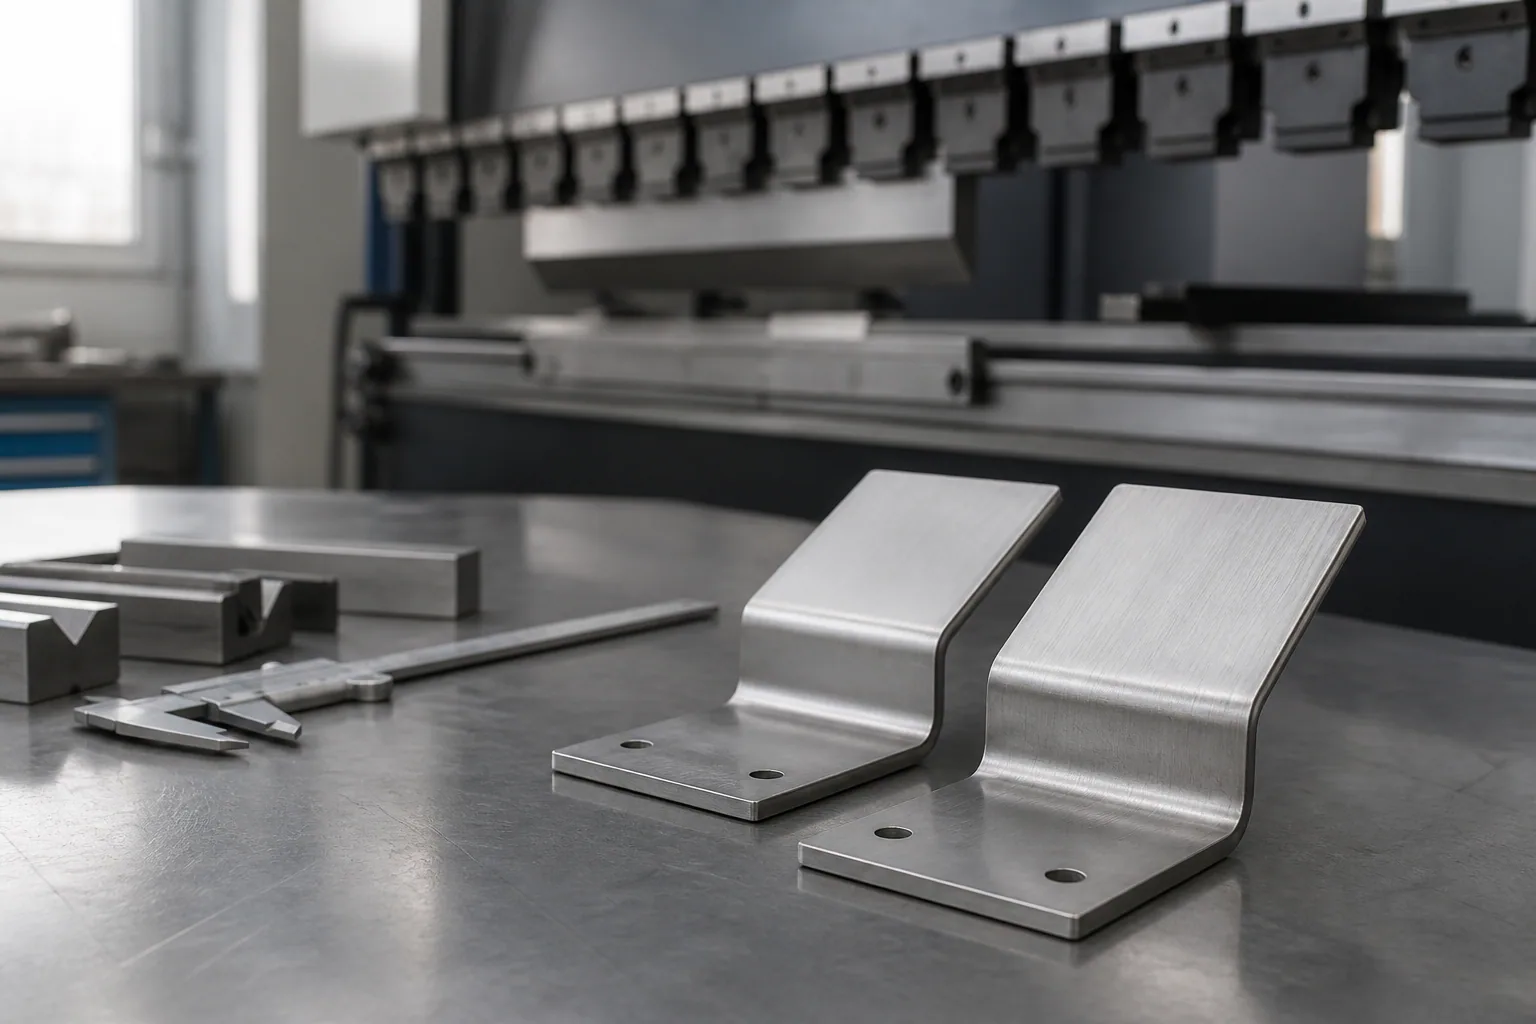
What to bring to a trial so that the result is useful
Do not test on an arbitrary strip. Bring material with the grade, thickness, finish and grain direction you actually use. If your sheets normally arrive with film, test both with and without it. Include one simple part for comparison and one demanding part with a visible panel, short flange, holes near the bend, or a longer length.
That lets you see not just one contact, but whether the outcome changes with geometry, backgauge positioning and handling.
| What to check | How to check it in the trial | What to record |
|---|---|---|
| Sheet surface | Bring your normal material and finish | Grade, thickness, grain direction, protective film |
| Tool contact | Inspect die and punch before a series | Cleanliness, protection, visible damage |
| Bend result | Make several identical parts in sequence | Where a mark appears and whether it repeats |
| Visible face | Inspect under normal working light | Which imprint is acceptable on the finished product |
| Changeover | Move to another geometry or sheet | Whether marks appear after a setup change |
Compare a short series, not one bend
One part may look perfect because the operator handled it carefully, the tooling was just wiped, and the blank was in an easy position. Production needs repeatability. Ask for several identical bends in succession and inspect every surface as well as the angle.
If a mark appears on only one blank, inspect the sheet. If it repeats in one location, investigate the tooling or support. If it starts after a new coil, batch, or changeover, record the conditions instead of merely cleaning the mark away.
The same principle appears in our guide to a press-brake test before purchase: the useful outcome is repeatable work on your real jobs, not a showcase bend.

Film and protective inserts help, but they do not replace a sound process
Protective film, die inserts, and similar measures can reduce the risk of marks. They do not remove the need to verify the tool and method. An unsuitable radius, a dirty die, or poor positioning can still create a problem through a protective layer.
Ask whether protection is needed for this finish, whether it creates an imprint of its own, how it is changed, and how it affects angle repeatability. “We can put something under it” is not yet a solution. A solution is a clear combination of material, tooling, setup and working rules.
When surface finish matters, choose the press and tooling together
A press brake cannot be evaluated separately from its tooling, supports and your parts. A general enclosure part may work well with one configuration. Visible stainless may require a separate discussion of radii, protection, handling between operations, and first-part inspection.
For the wider choice of machine, material, format and workflow, see how to select a press brake for the real production flow. Once you have a material sample and one or two typical parts, the discussion can focus on a configuration that works on your actual surface.
Select press-brake tooling and configurationLeave the trial with a short record of the conditions
When the result is acceptable, record the material, thickness, tooling, protection, program, and a few photos of finished parts. This is not bureaucracy. It tells you what must be repeated when the material batch changes or the job returns later.
If a mark remains, do not conclude that stainless steel “cannot be bent.” Separate the possible causes: the sheet finish, tool condition, radius, protection, positioning, or operation sequence. That usually gives a practical correction plan.
Send drawings, a surface photo and a short note about what you cannot accept. We can propose a focused test-bending scenario before an order is placed.
Plan a stainless-steel bending trial